A Complete Guide to Fix the GRUB Rescue Error in Dual Boot Kali Linux
If you are a dual boot user with Kali Linux and Windows 11 OS, you might have encountered the GRUB rescue prompt error after updating the Windows 11 OS, It’s a frustrating error that can prevent you from booting into your system. This error usually occurs when we update the windows OS then sometime GRUB bootloader is corrupted, misconfigured, or can’t find the necessary files to boot your system.

Don’t panic! In this guide, we will walk you through a simple, step-by-step process to fix the GRUB rescue error and regain access to your Kali Linux system.
What is the GRUB Rescue Error?
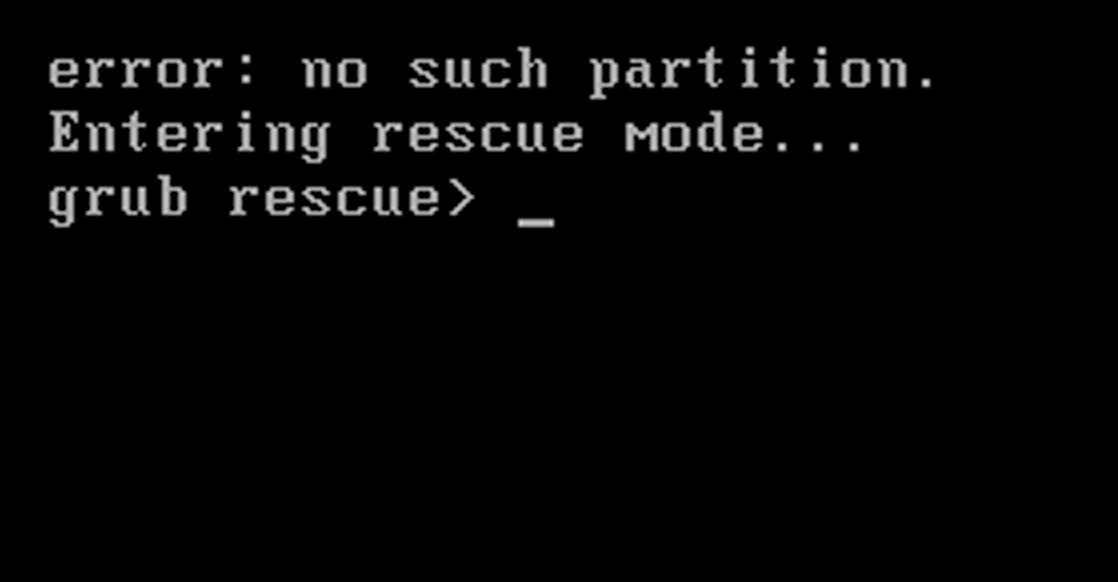
The GRUB (Grand Unified Bootloader) is responsible for managing the boot process on systems with multiple operating systems. When the GRUB configuration is damaged or missing, you may see the GRUB rescue prompt, often displaying something like this:
GRUB rescue>
At this point, your system cannot find the boot files and fails to load the operating system. The good news is that fixing this issue is relatively straightforward using a few GRUB commands. Let’s dive in!
Step 1: Identify the Partition Using the ls Command
The first step is to figure out where your boot files are located. The ls command can help you list all the partitions available on your system. This step will help you locate the partition where your GRUB files are installed.
From the GRUB rescue prompt, type the following:
ls
This will display a list of available partitions, which might look something like this:
(hd0) (hd0,gpt1) (hd0,gpt2) (hd0,gpt3)
Each partition is listed in the form of (hdX, gptY), where X is the disk number and Y is the partition number. Now, we need to check each partition to find the one containing your GRUB files.
Step 2: Check Each Partition
Now that you have a list of partitions, you need to check them one by one to locate the correct one. For each partition, type the following command:
ls (hd0,gptY)/
Make sure to replace Y with the appropriate partition number you want to check. For example:
ls (hd0,gpt1)/
Repeat this for each partition until you find the one containing the /boot/grub directory. This is the partition that holds the necessary files to fix the GRUB issue.
Step 3: Set the Prefix to the Correct Partition
Once you’ve identified the partition containing the GRUB files, set the GRUB prefix by running the following command:
set prefix=(hd0,gptY)/boot/grub
Replace Y with the partition number you identified in the previous step. For example, if you found your GRUB files on (hd0,gpt2), the command would be:
set prefix=(hd0,gpt2)/boot/grub
Step 4: Load the Normal Module
Now, load the normal module, which will allow you to boot into your system:
insmod normal
Step 5: Boot into Normal Mode
Finally, once the module is loaded, type the following command to boot your system normally:
normal
This command will take you to the GRUB menu, where you can select your desired operating system (like Kali Linux or Windows) to boot into.
Step 6: (Optional) Reinstall GRUB to Make the Fix Permanent
Once you’ve booted into your Kali Linux system, it’s a good idea to reinstall the GRUB bootloader to avoid encountering the rescue error in the future. Open a terminal and run the following commands:
Install the GRUB bootloader to the MBR:
sudo grub-install /dev/sda
This installs GRUB to your primary hard drive (/dev/sda in most cases).
Update GRUB configuration:
sudo update-grub
This will regenerate the GRUB configuration files and make sure everything is set up correctly.